We scanned our faces for fun! We used a device called Sense, you have to hold very still while being scanned.

- Once your face is scanned, you can make adjustments such as erase and trim and then press Solidify
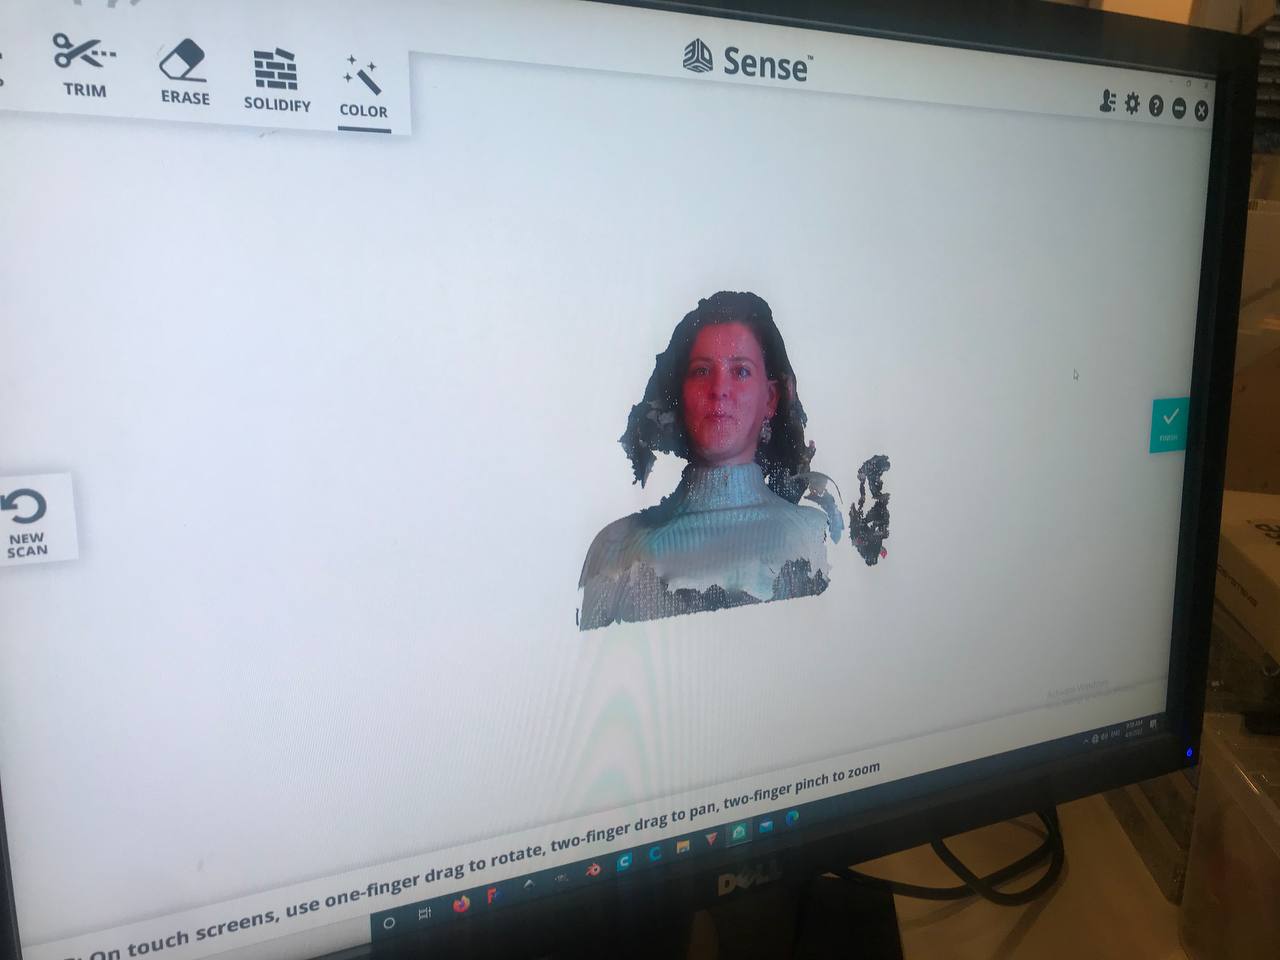
- Finish and Export as an OBJ file

- Choose your fillament and which type of printer you are going to use based on the desired size of your print, also keep in mind the bigger it is the longer it takes!
 fillament
-
Import the file into PrusaSlicer on your laptop
-
Printer settings/configuration assistant, we chose Prusa i3 MK3S & MK3S+ (0.4 mm nozzle) and Other vendors, choose Creality FFF & Ultimaker FFF
-
You can make necessary adjustments before slicing such as scaling and resizing, depending on what you’re printing, you might need to paint on supports using the brush tool
- Once your file is ready, save as obj and put it on the stick
- Insert into the 3d printer & switch on from behind
 Switching the printer on
- Cut the tip of your filament at an angle
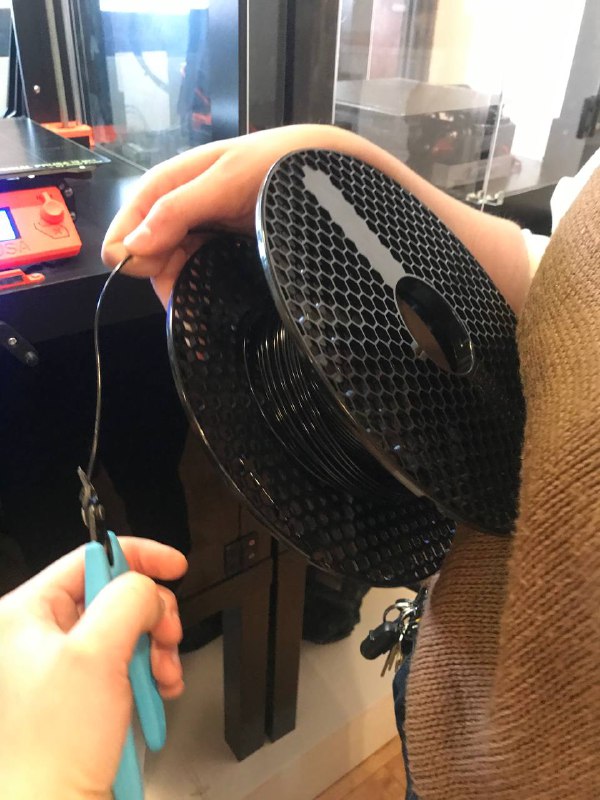 Cut filament
- Insert filament through the tube
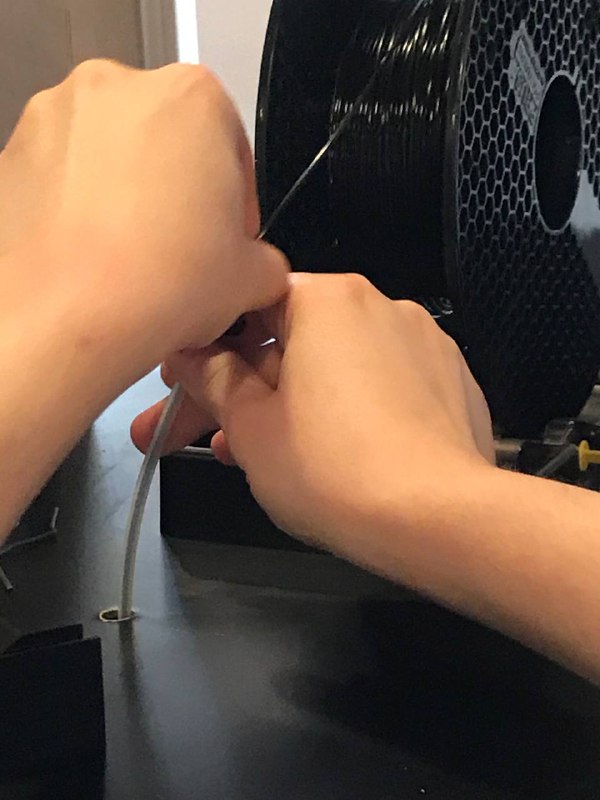 Inserting filament into the tube
- Press unload filament to remove the access from the old one, then press ok when it beeps
- Press preheat
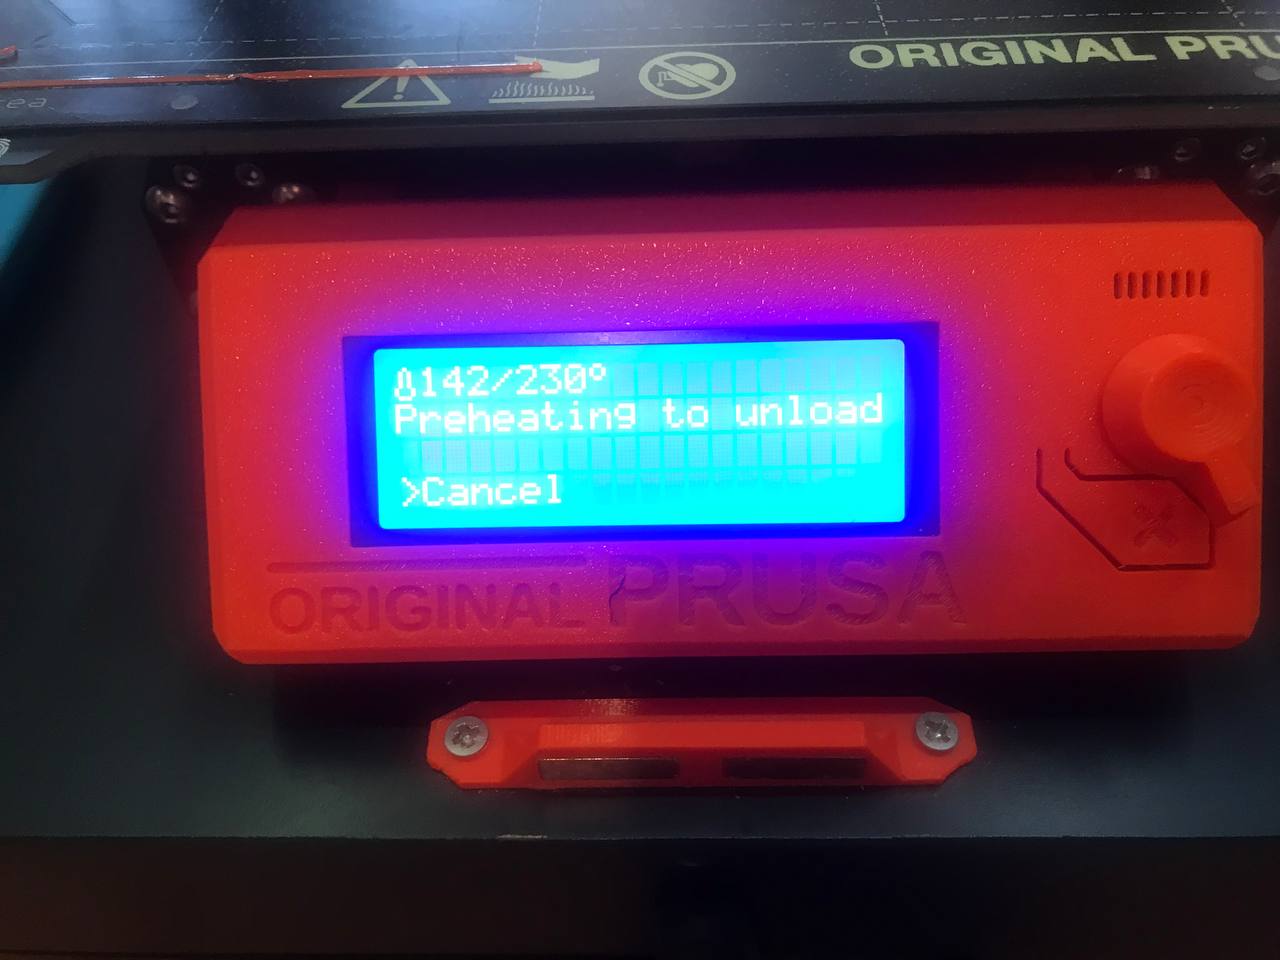 Preheating
- Clean up the surface
- Press Load Filament
- Then choose your file
- If the filament you chose is Pet, close the windows completely, if youc chose PLA, then better keep it slightyl open
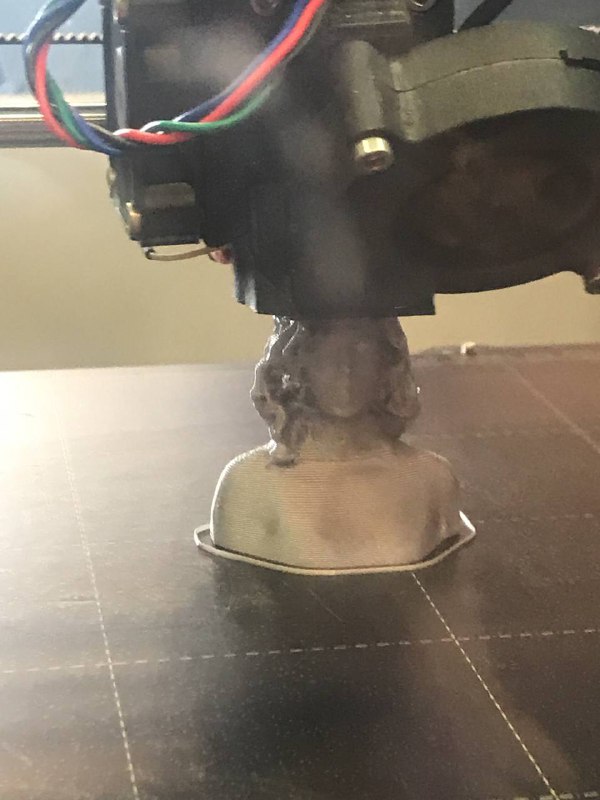 My face being 3D printed