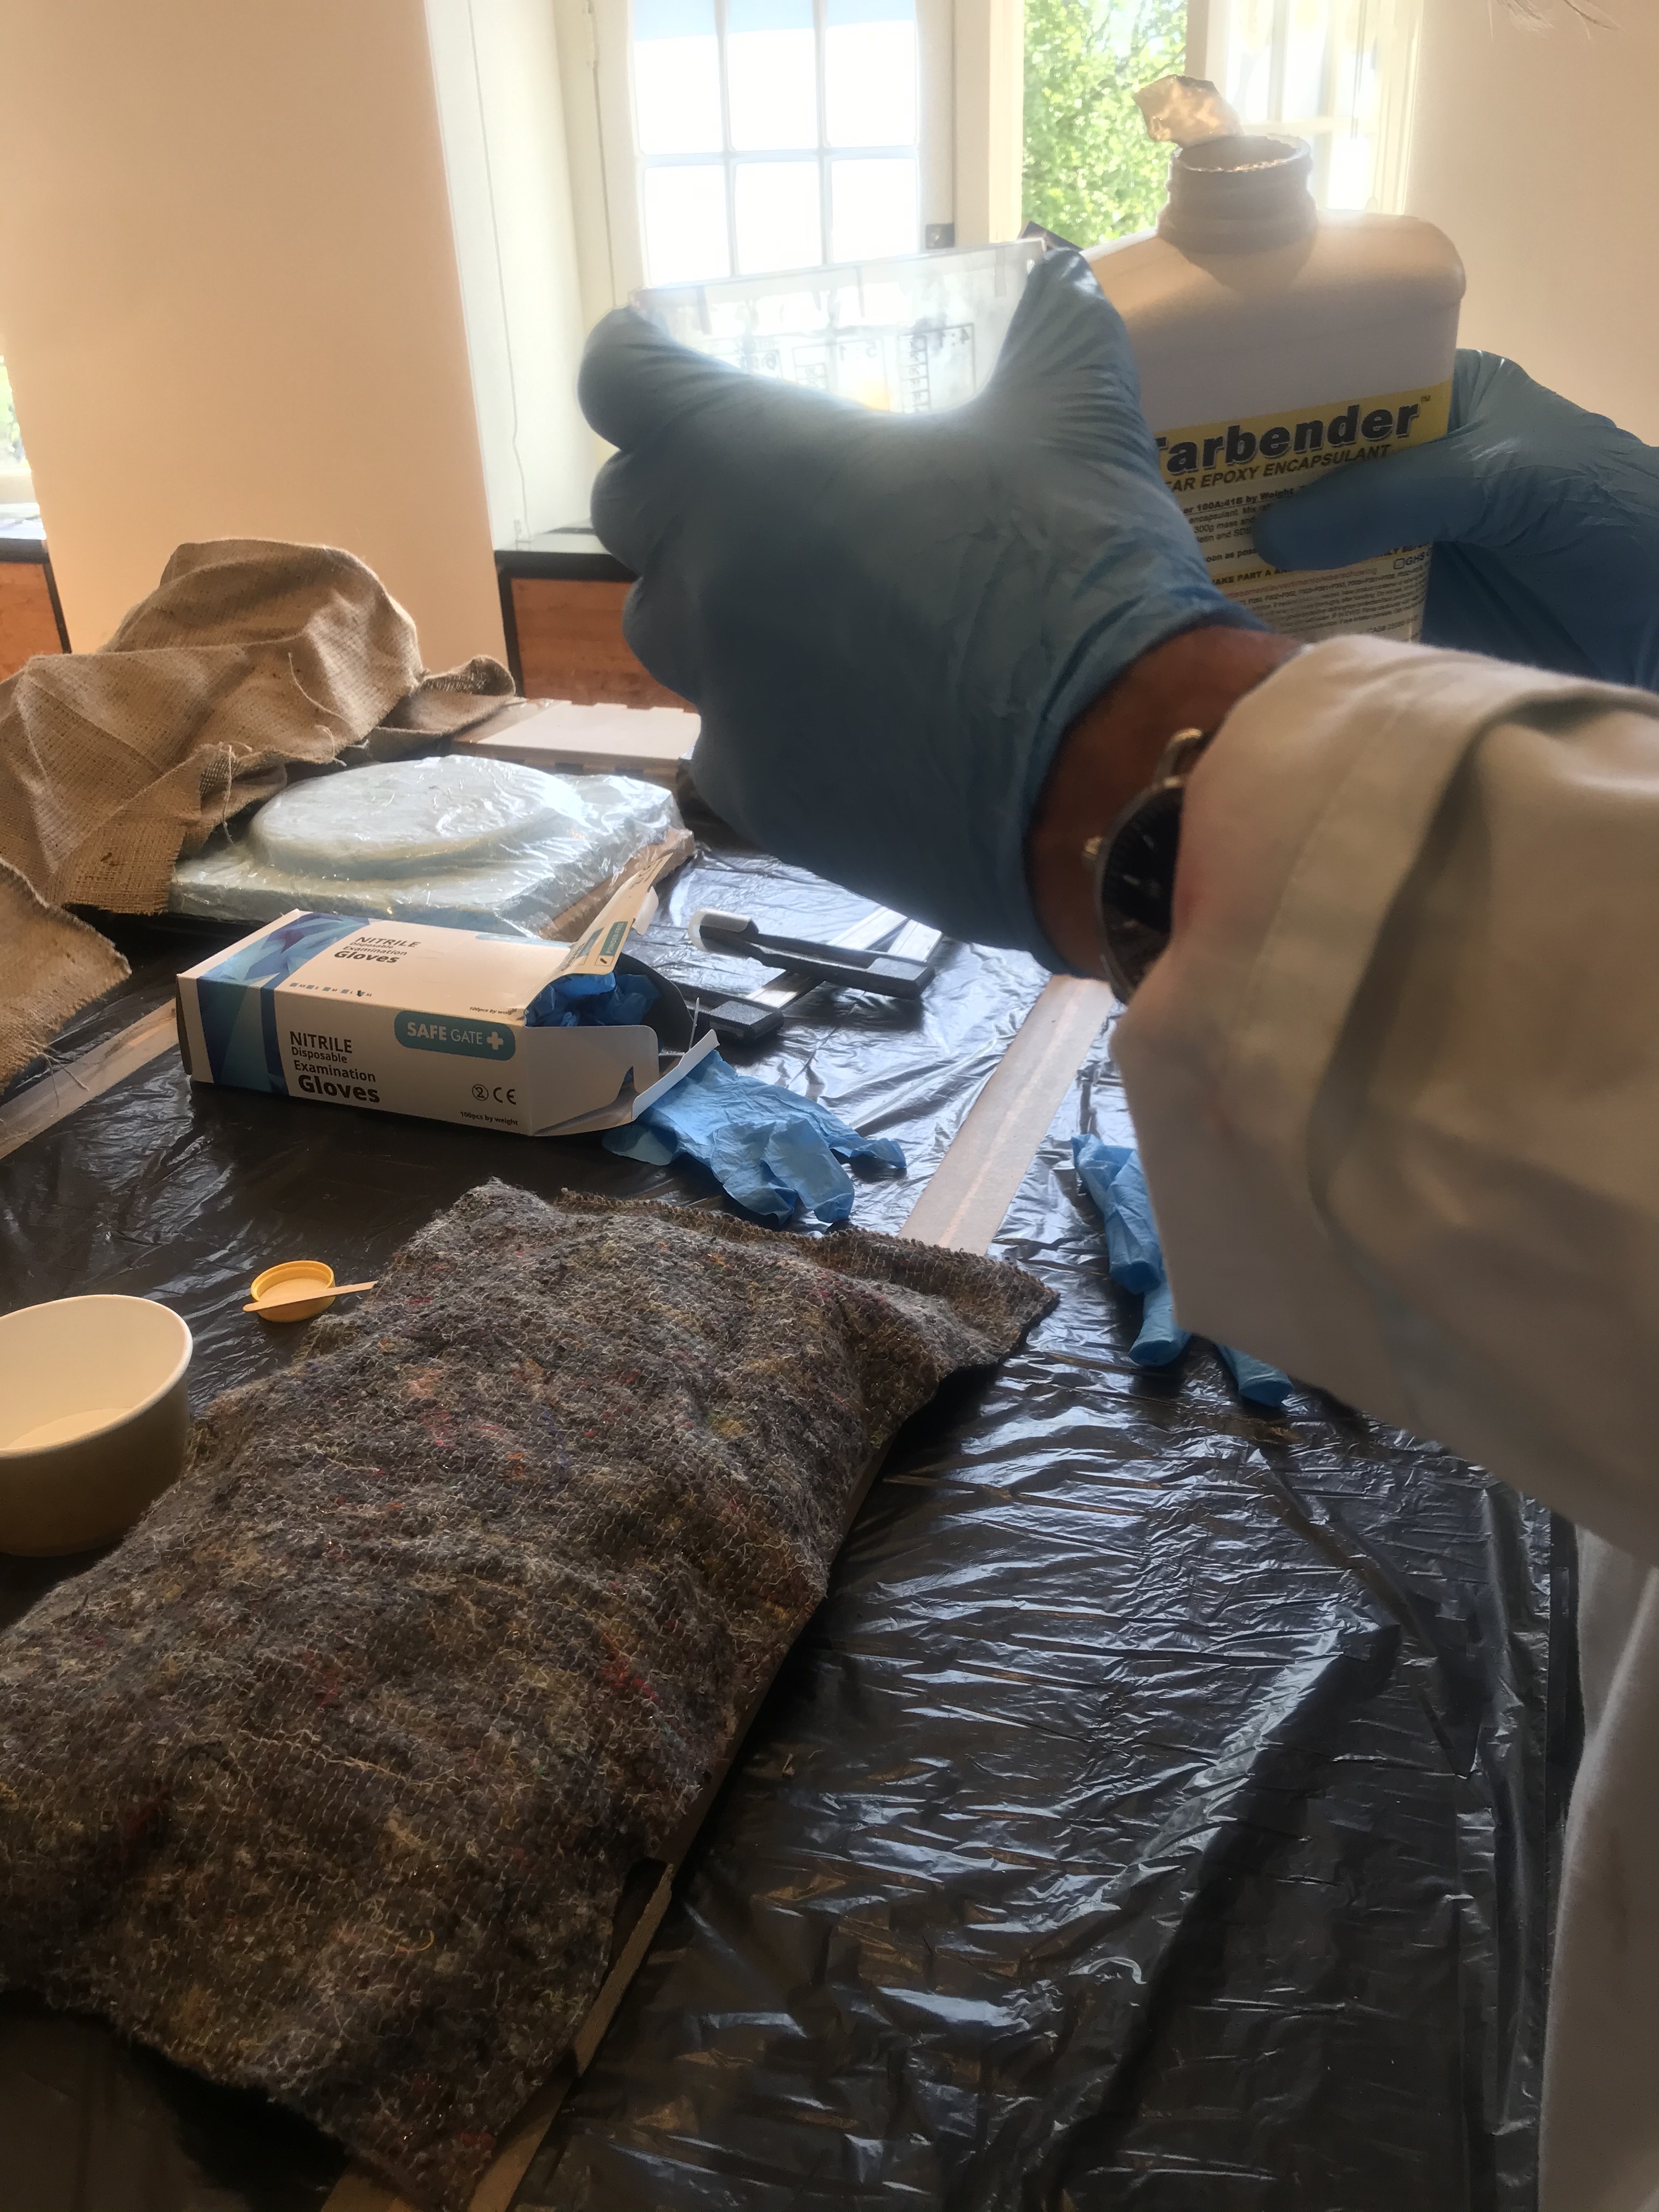
Safety Measuerment
Before playing around with mixing things, we put on gloves, safety googles & a safety mask. We also opened the windows.
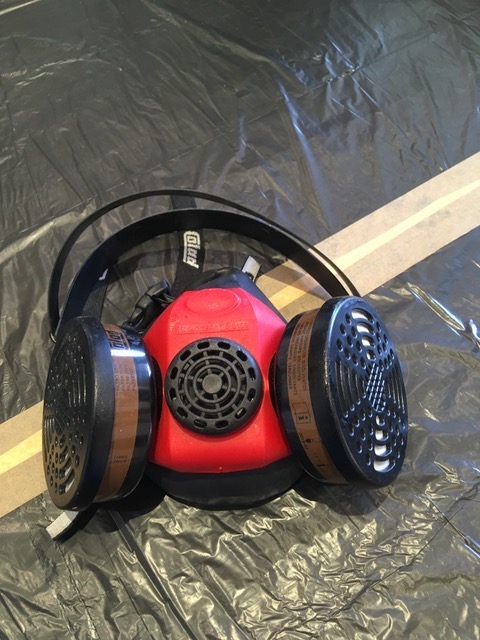
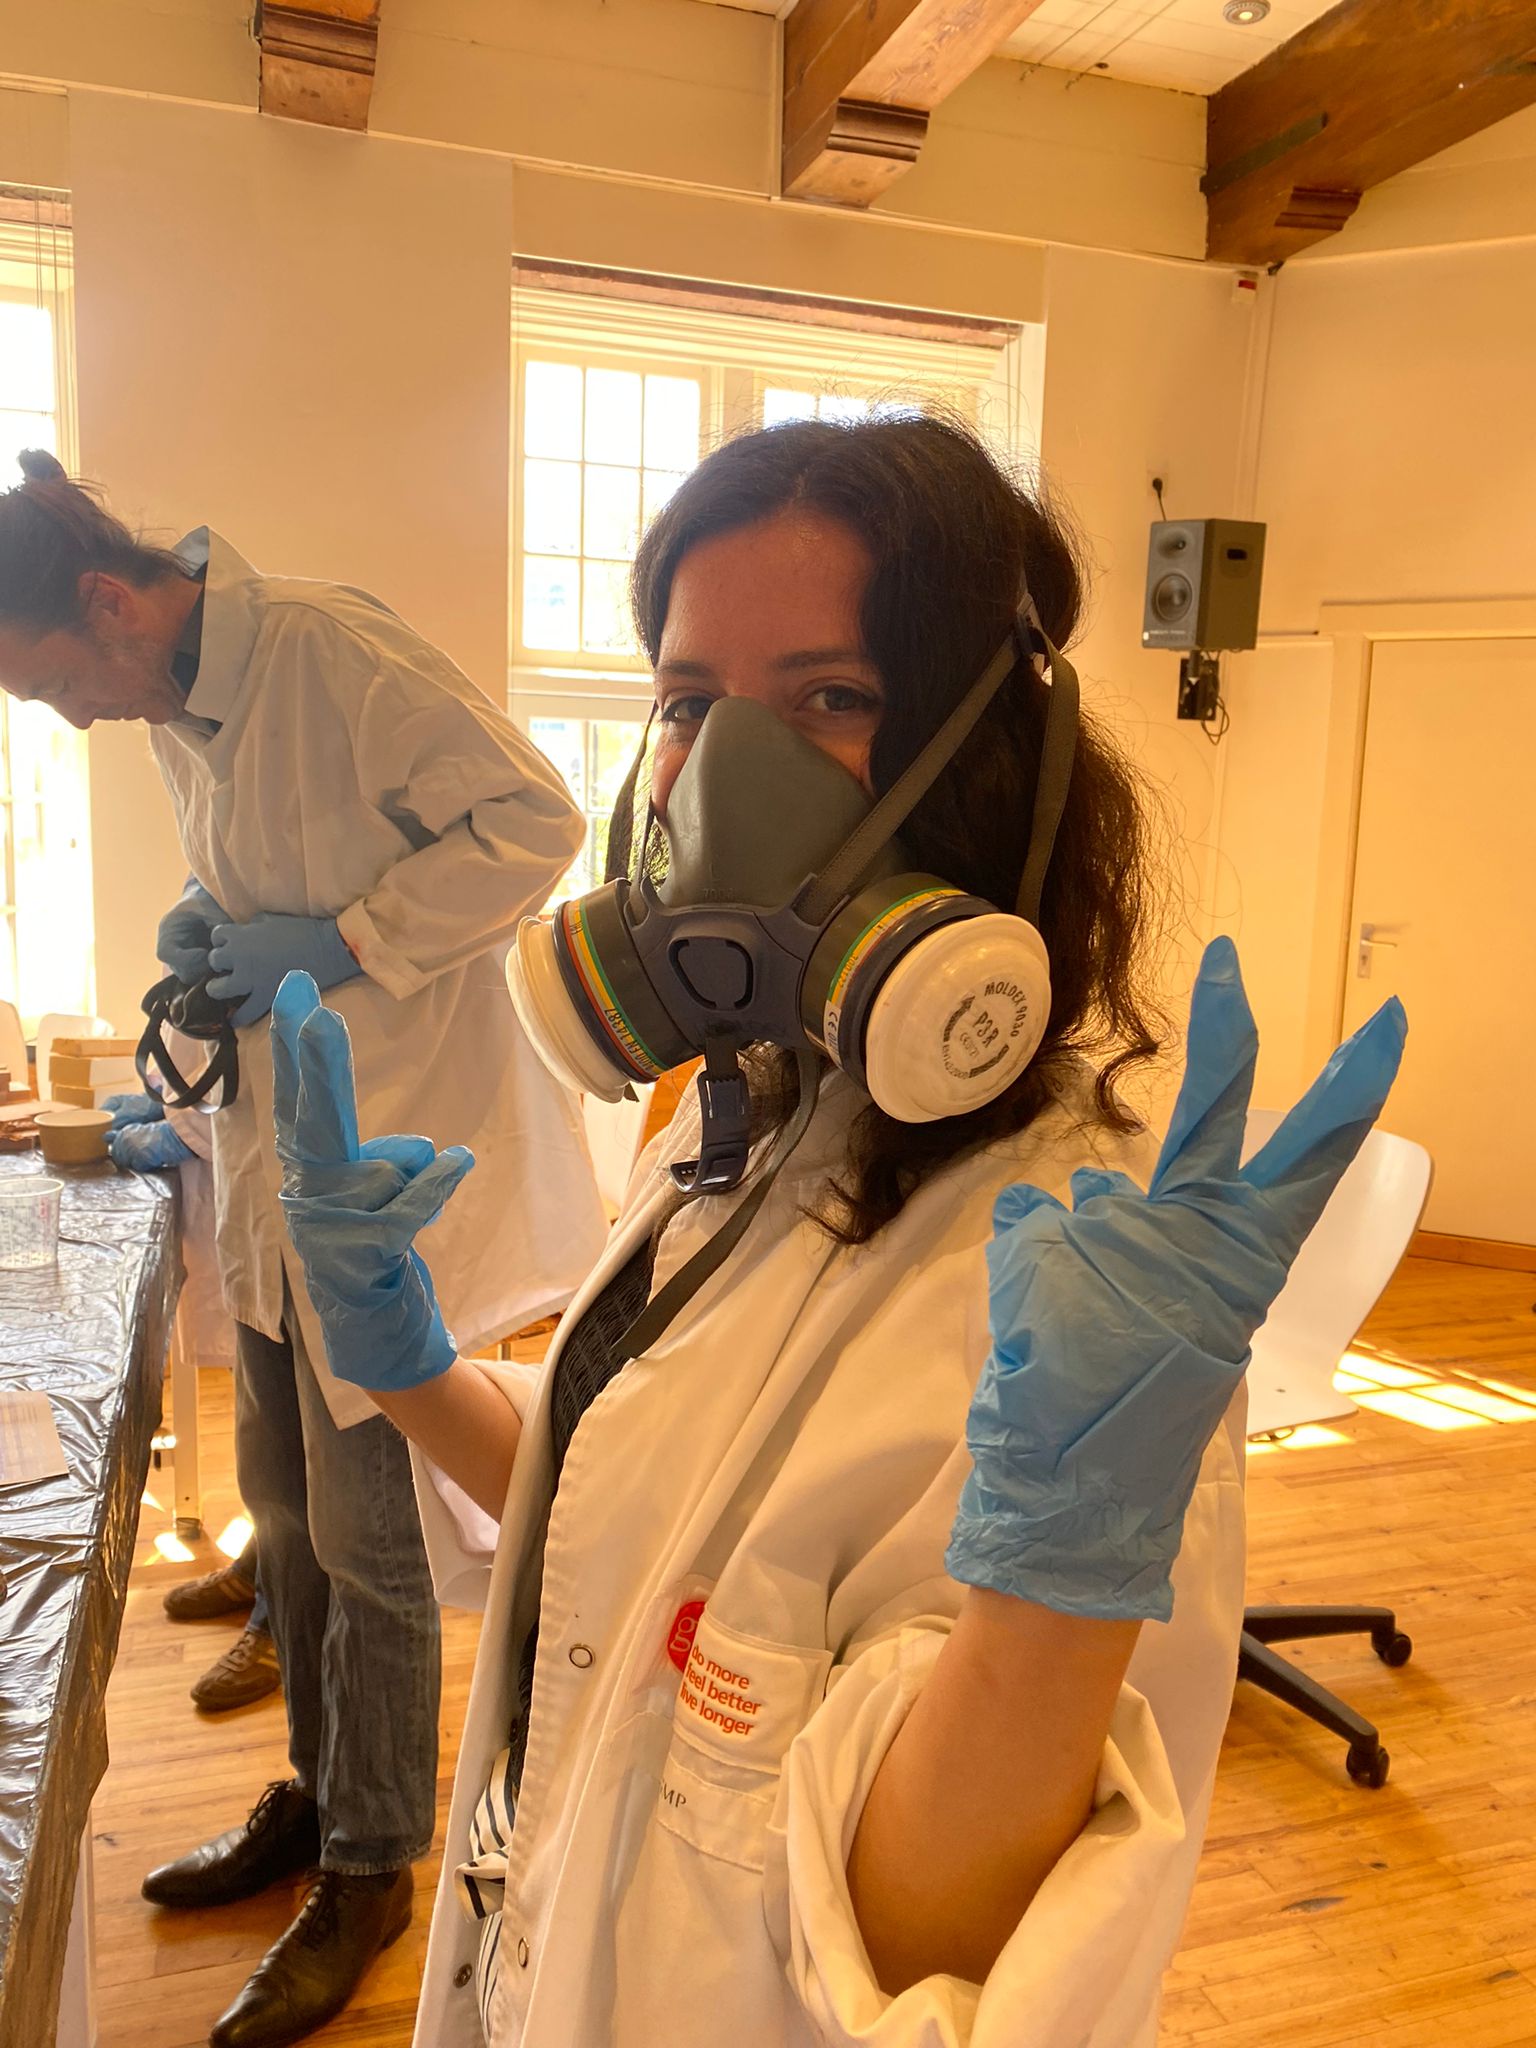 Safety first!
Choosing mold First trial was with this rectangular shape with a triangle on top.
 Our mold covered up
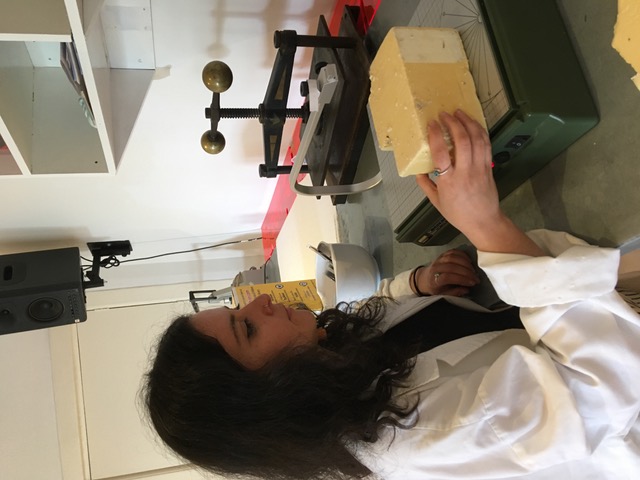
Choosing Material
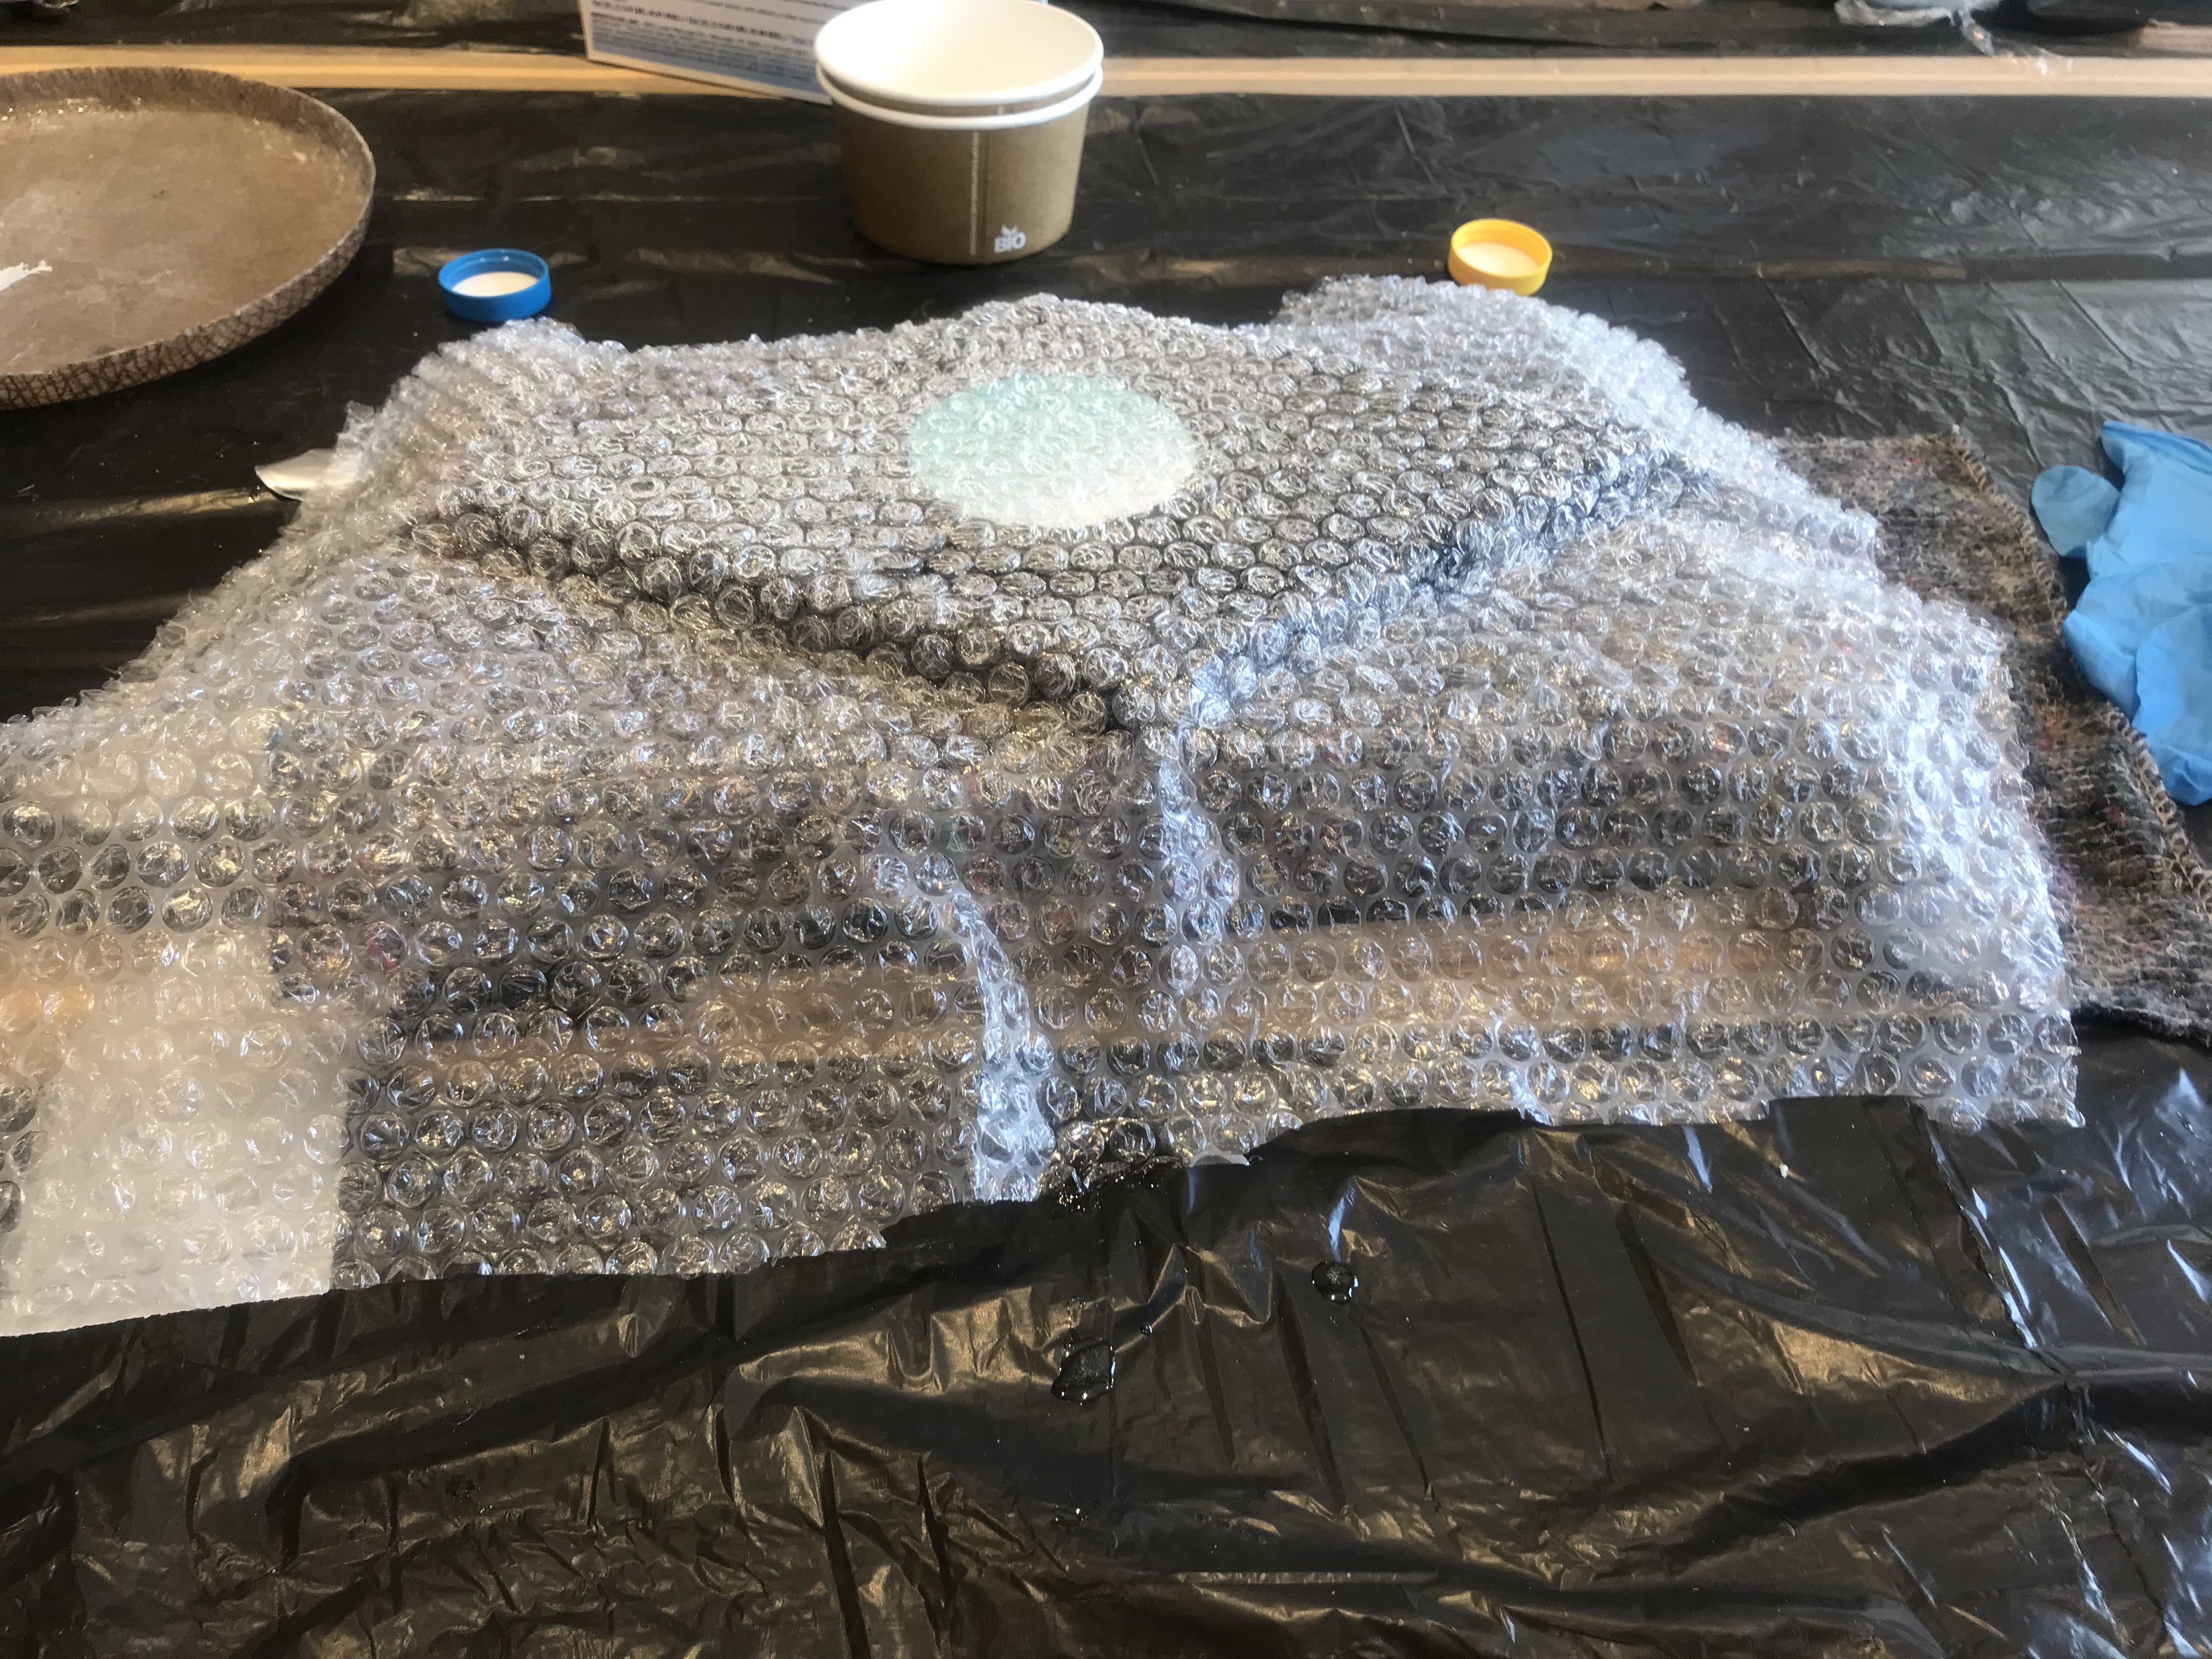
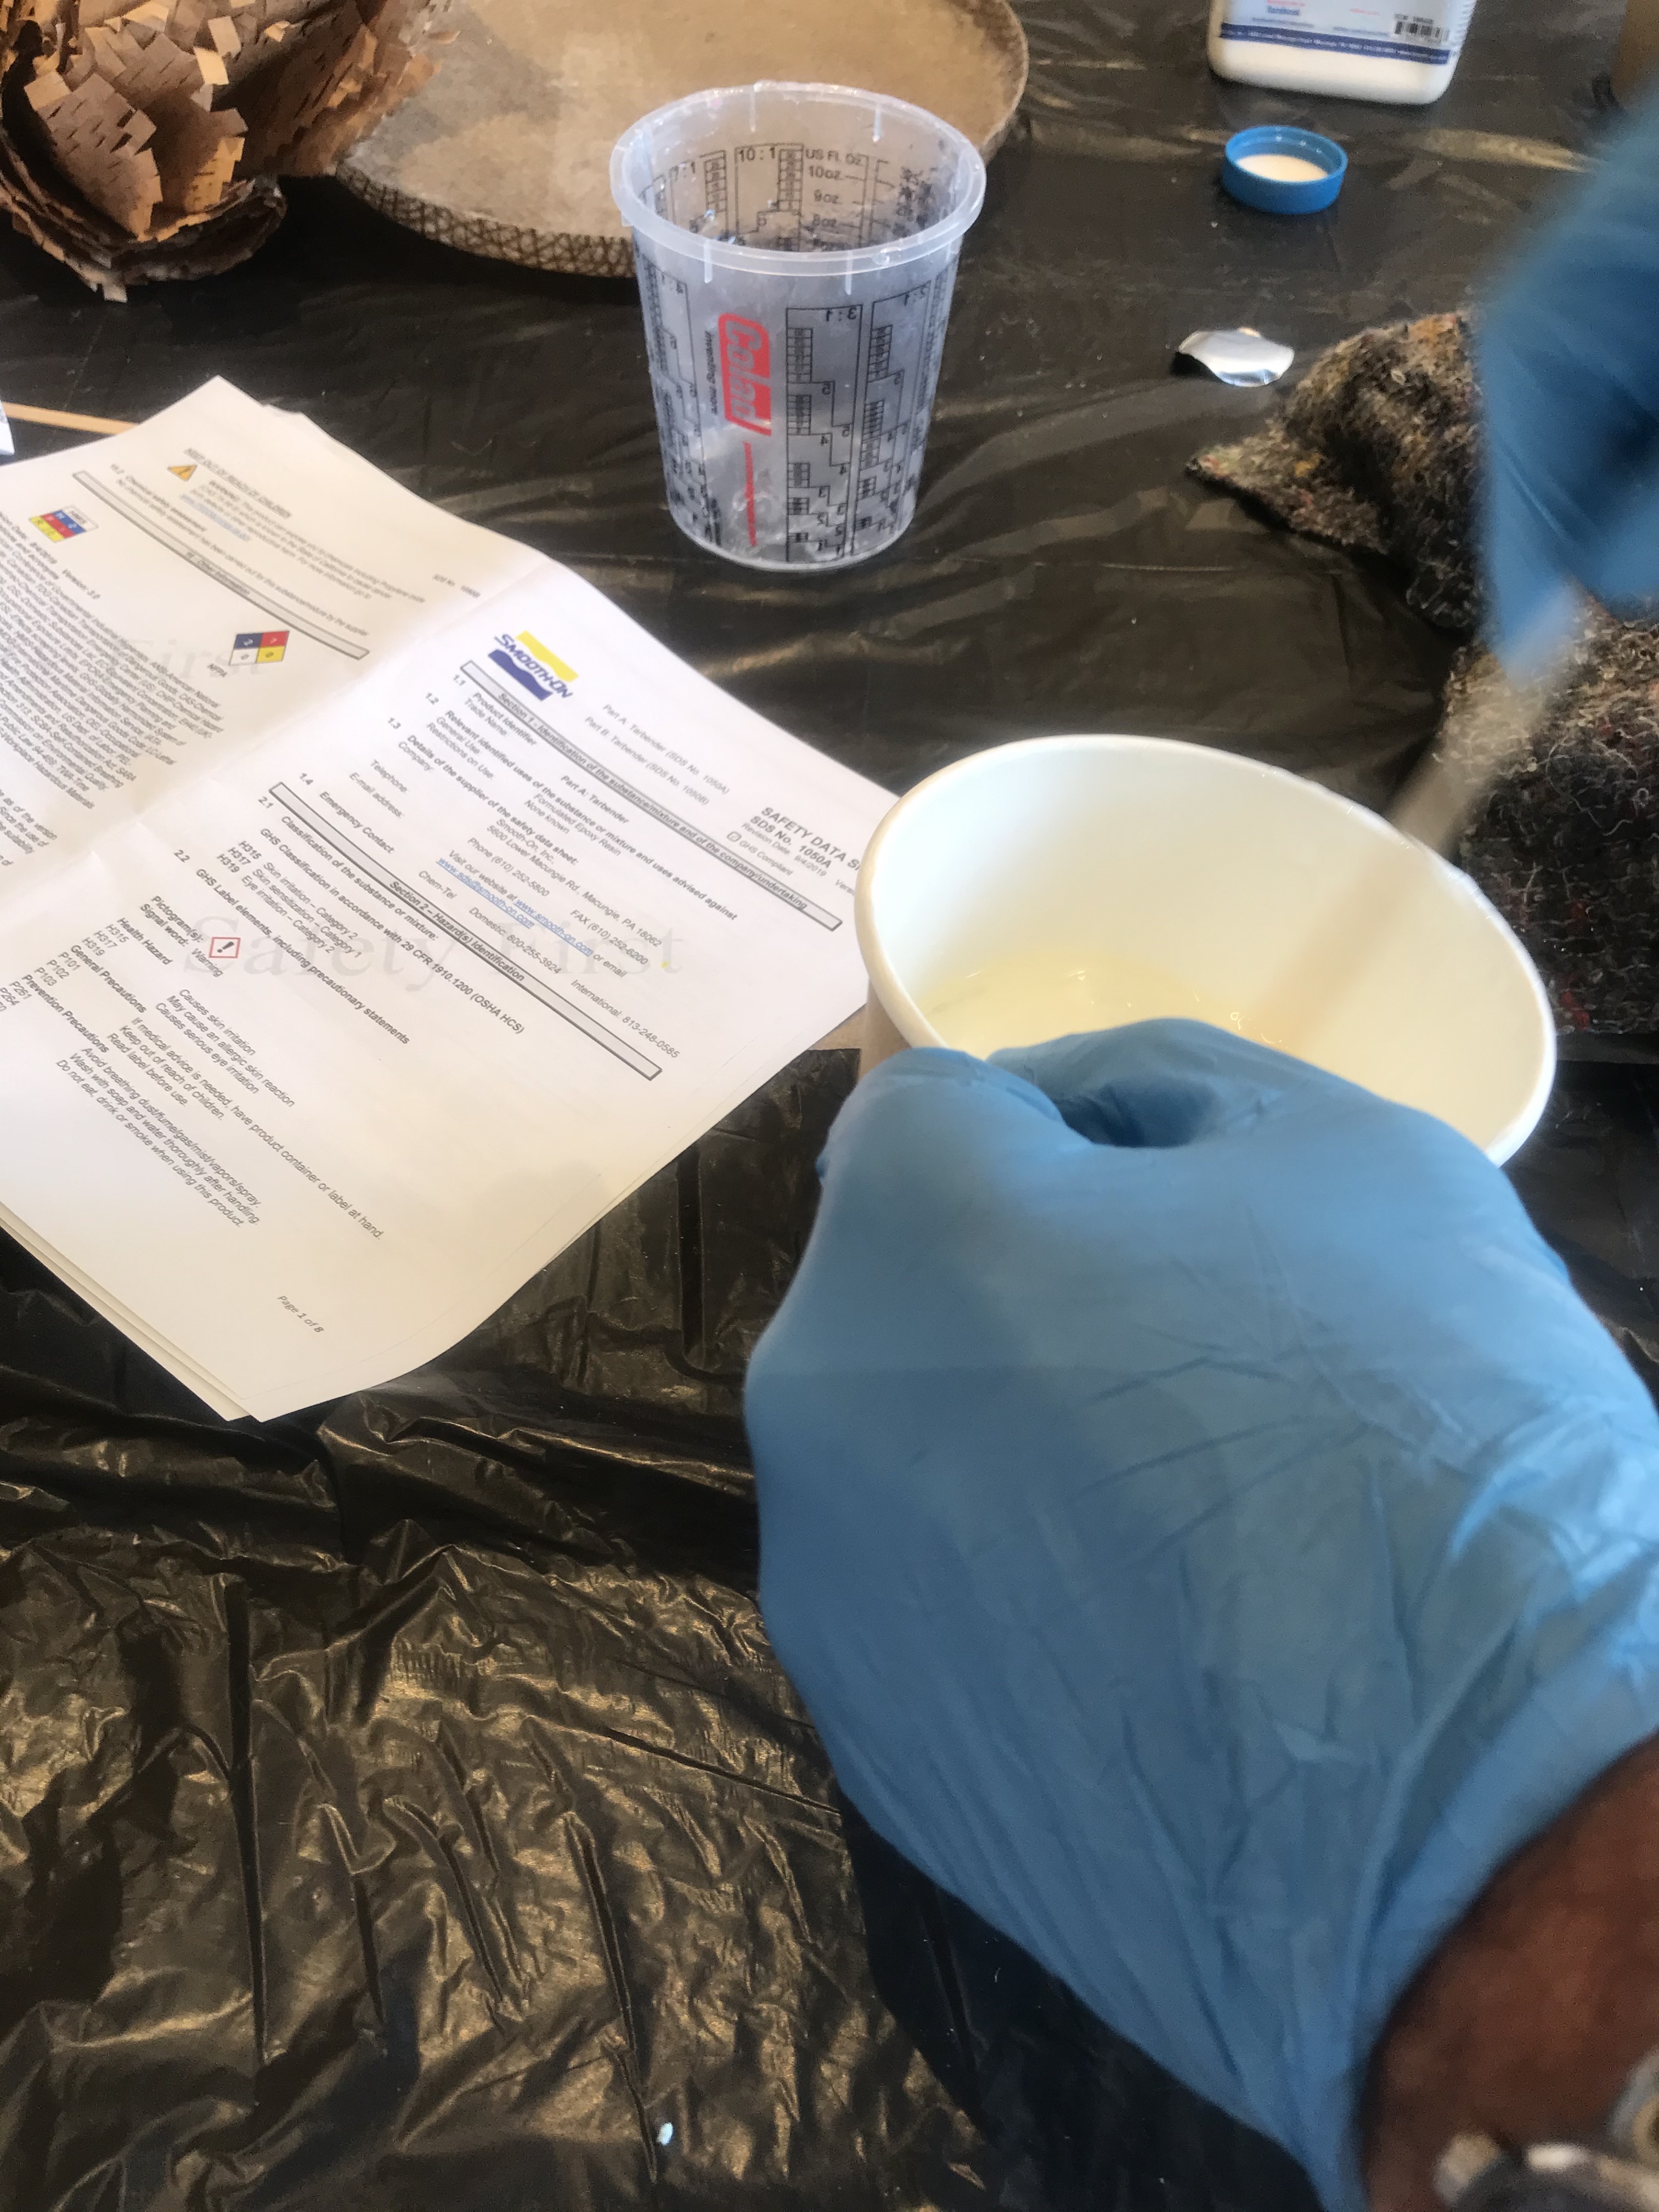
Layering it up!
- We put a plastic bag on top of it, so that it wouldn’t get glued to the mold.
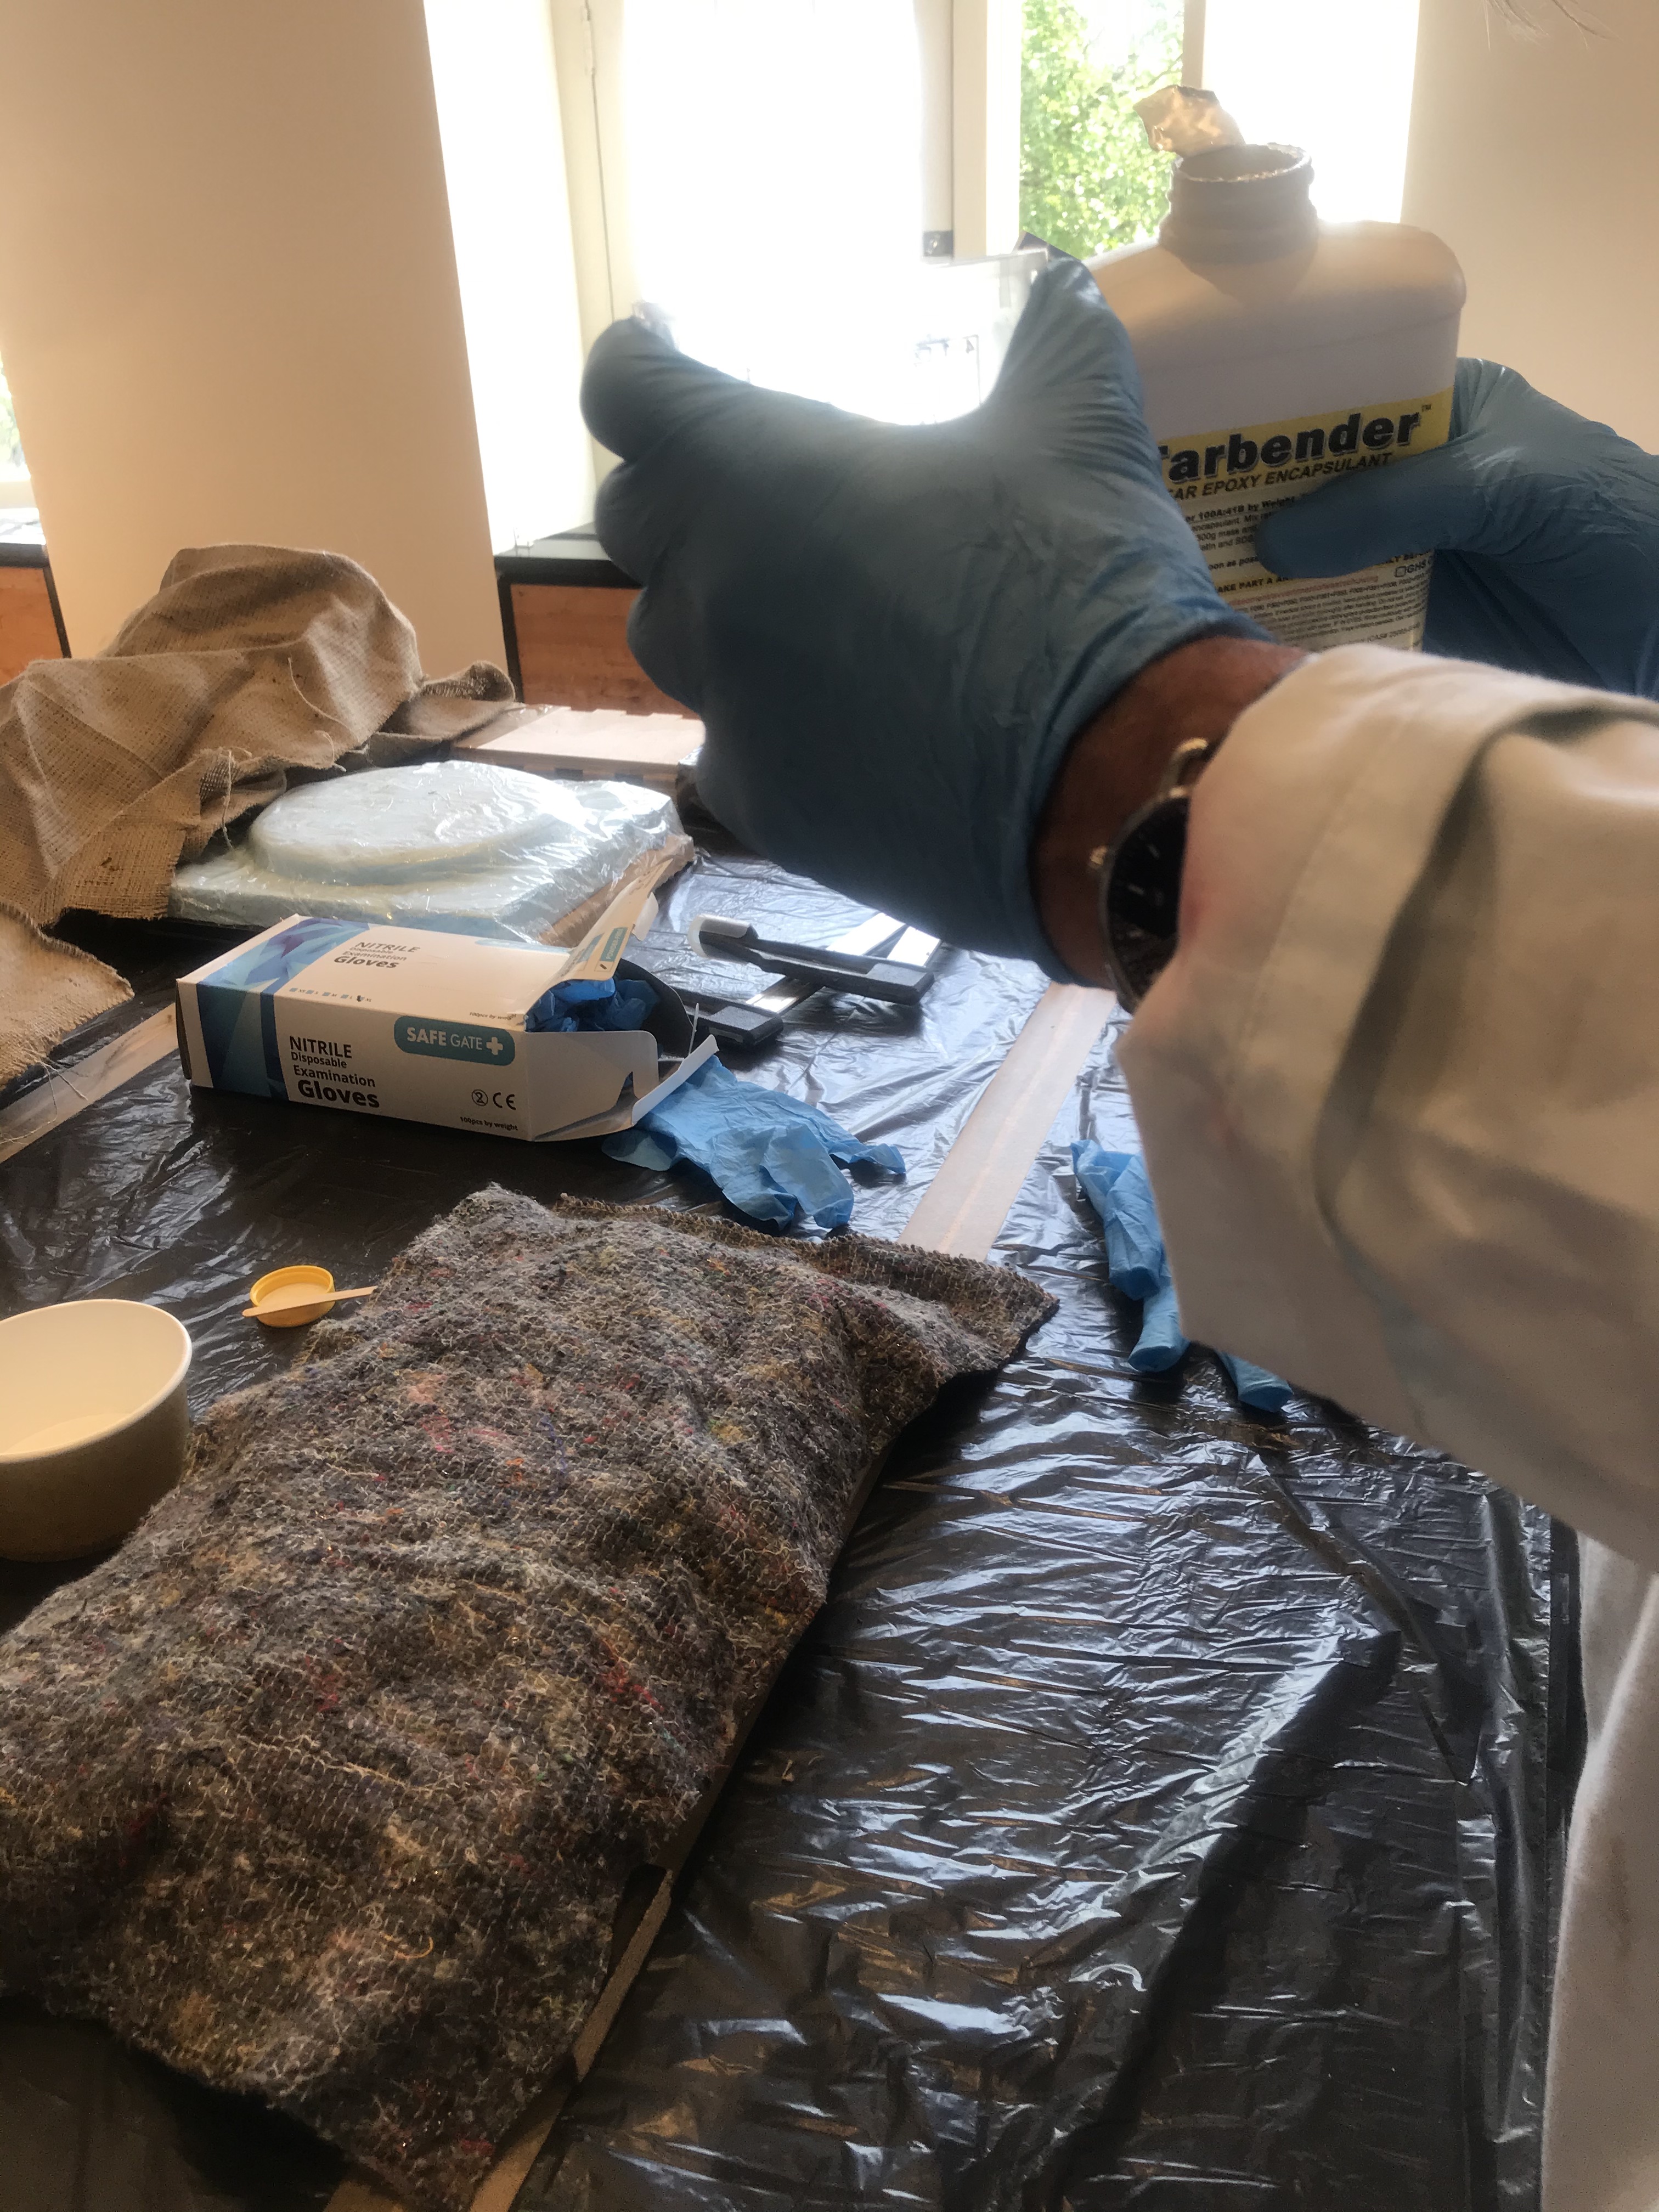
- Put the first chosen material on top
- Then using a measuring cup, we added 1 portion of one of the epoxy material and 2 portions of the other epoxy material (following the manual).
- Then we mixed the two in a (wax coated) cup for about 2 minutes.
-
Spread the mixture on top of the material evenly
-
After that we added a second material on top.

- Then we wrapped the whole in another plastic bag
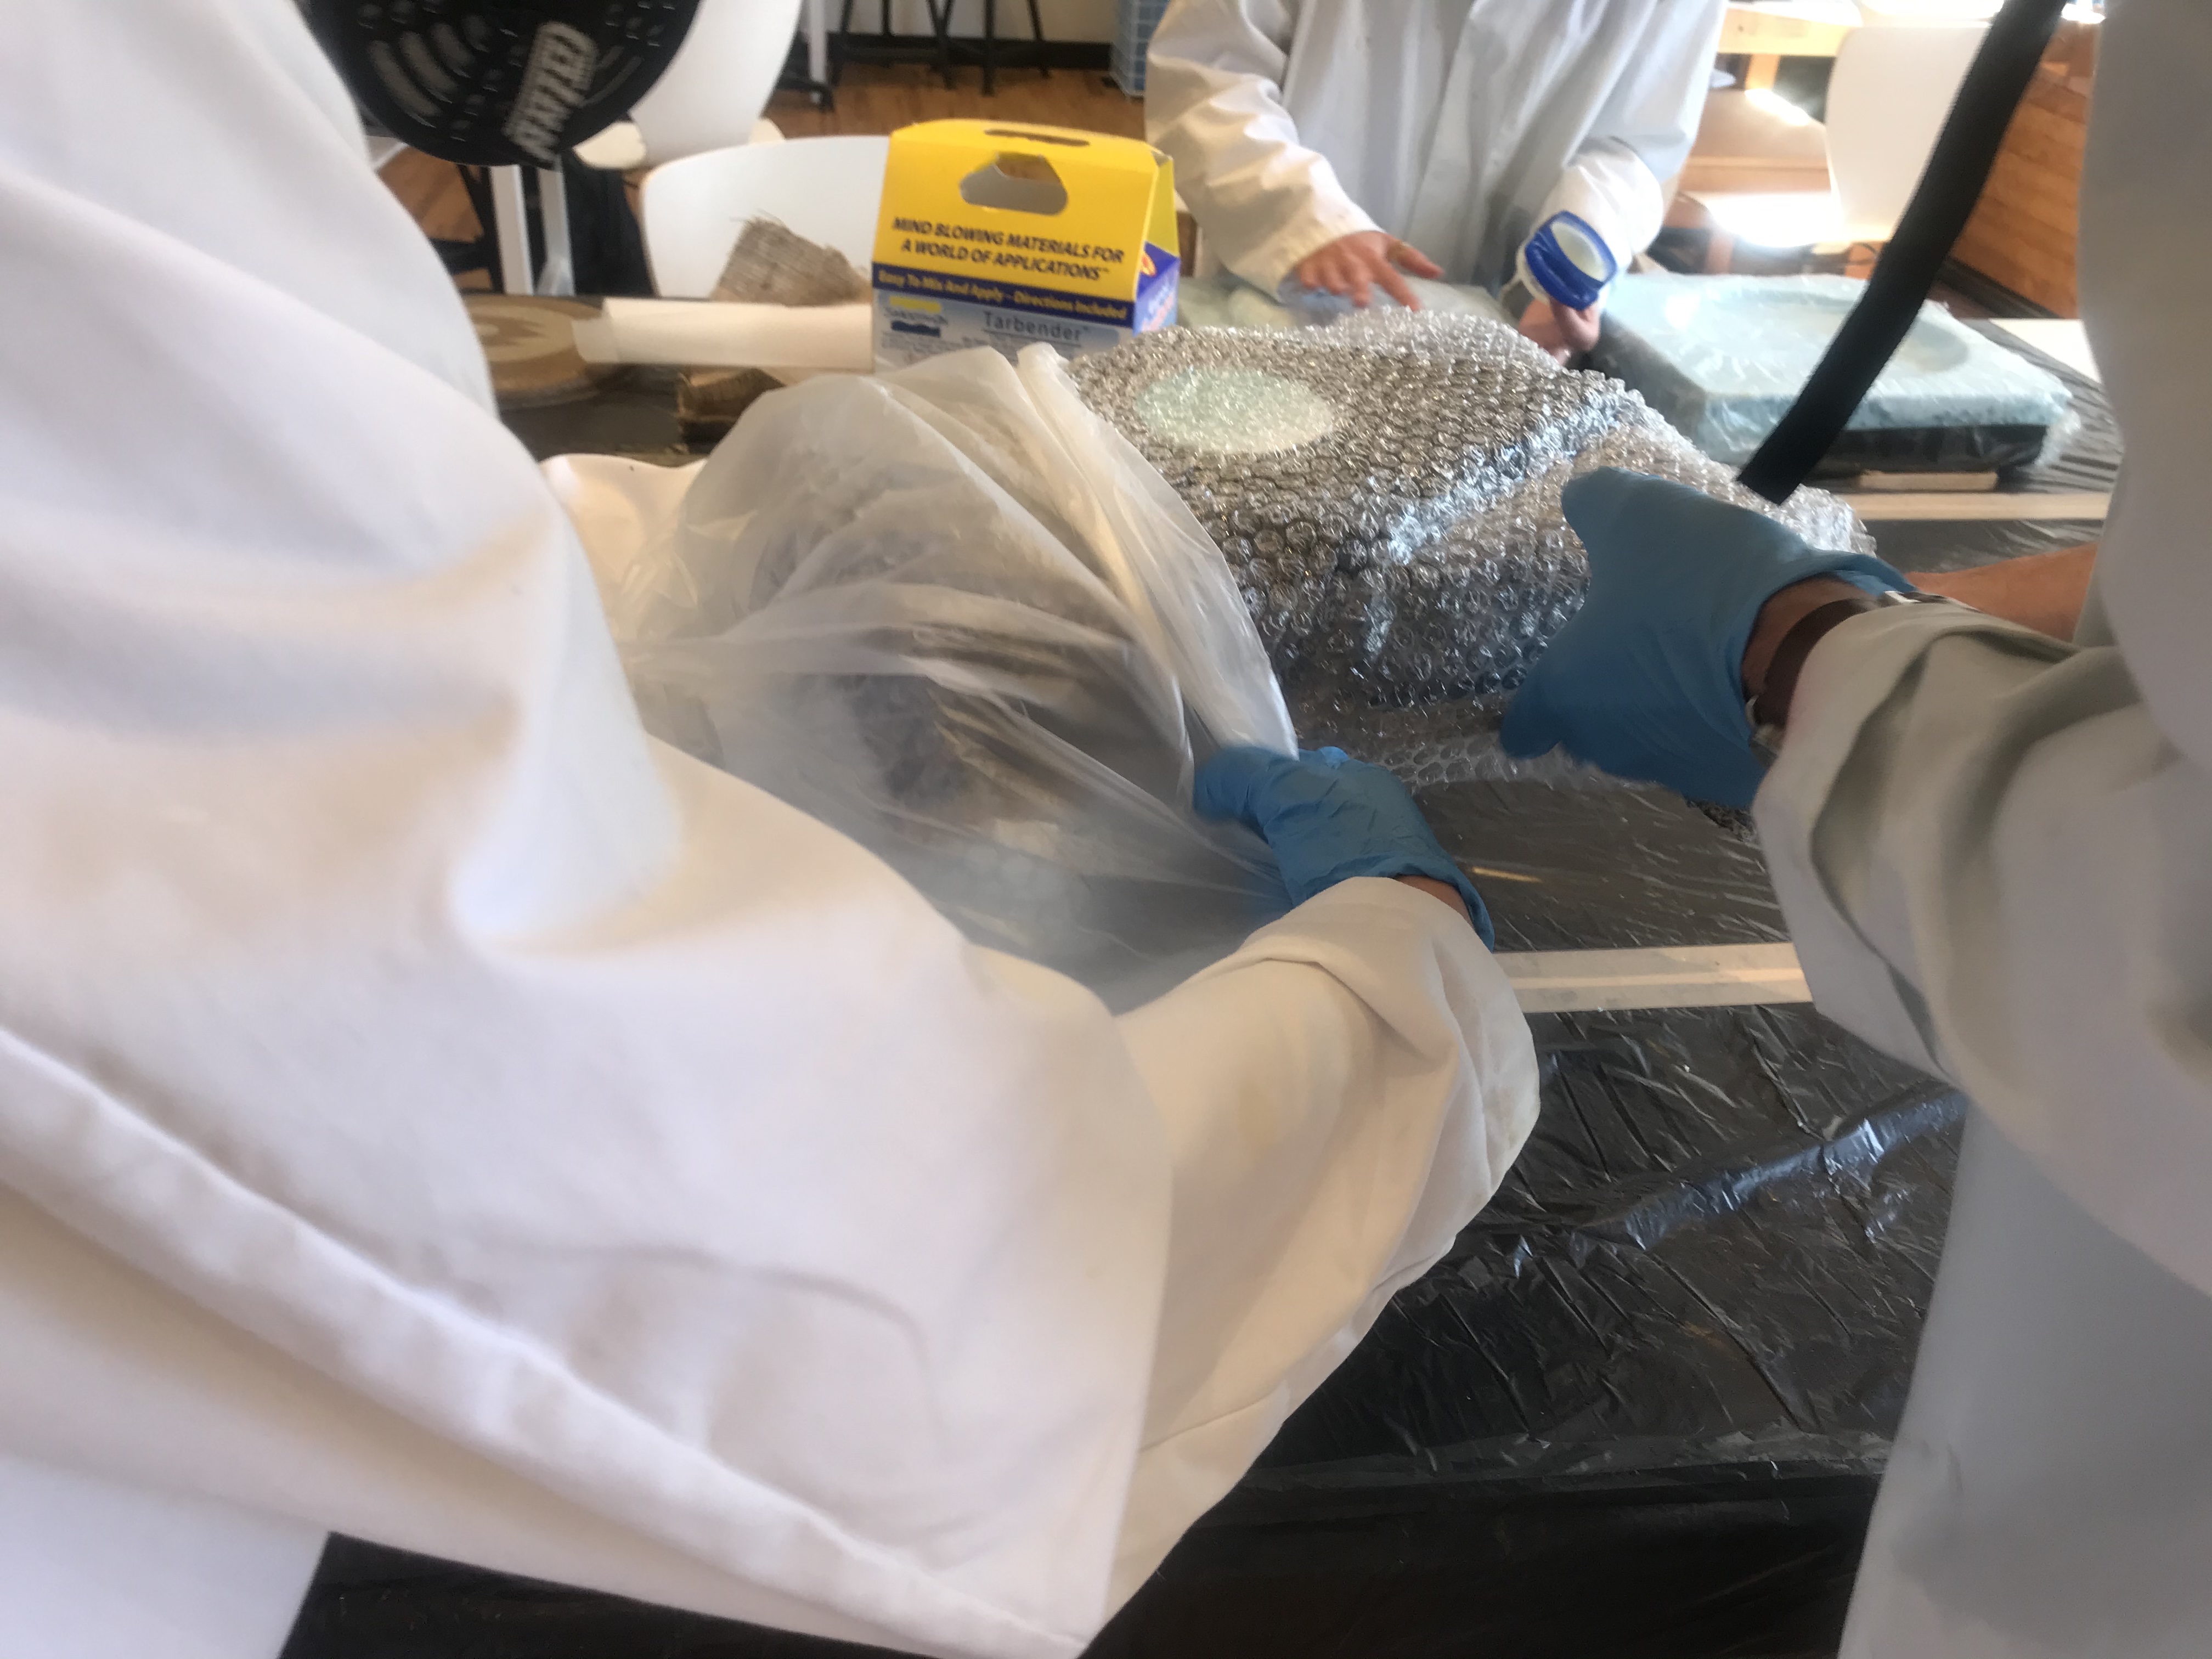 Wrapping up
-
We took the whole wrapped thing and put it inside the plastic bags that you can vacuum the air out of.
-
We sealed it tightly and using a vacuum, we sucked the air out of it
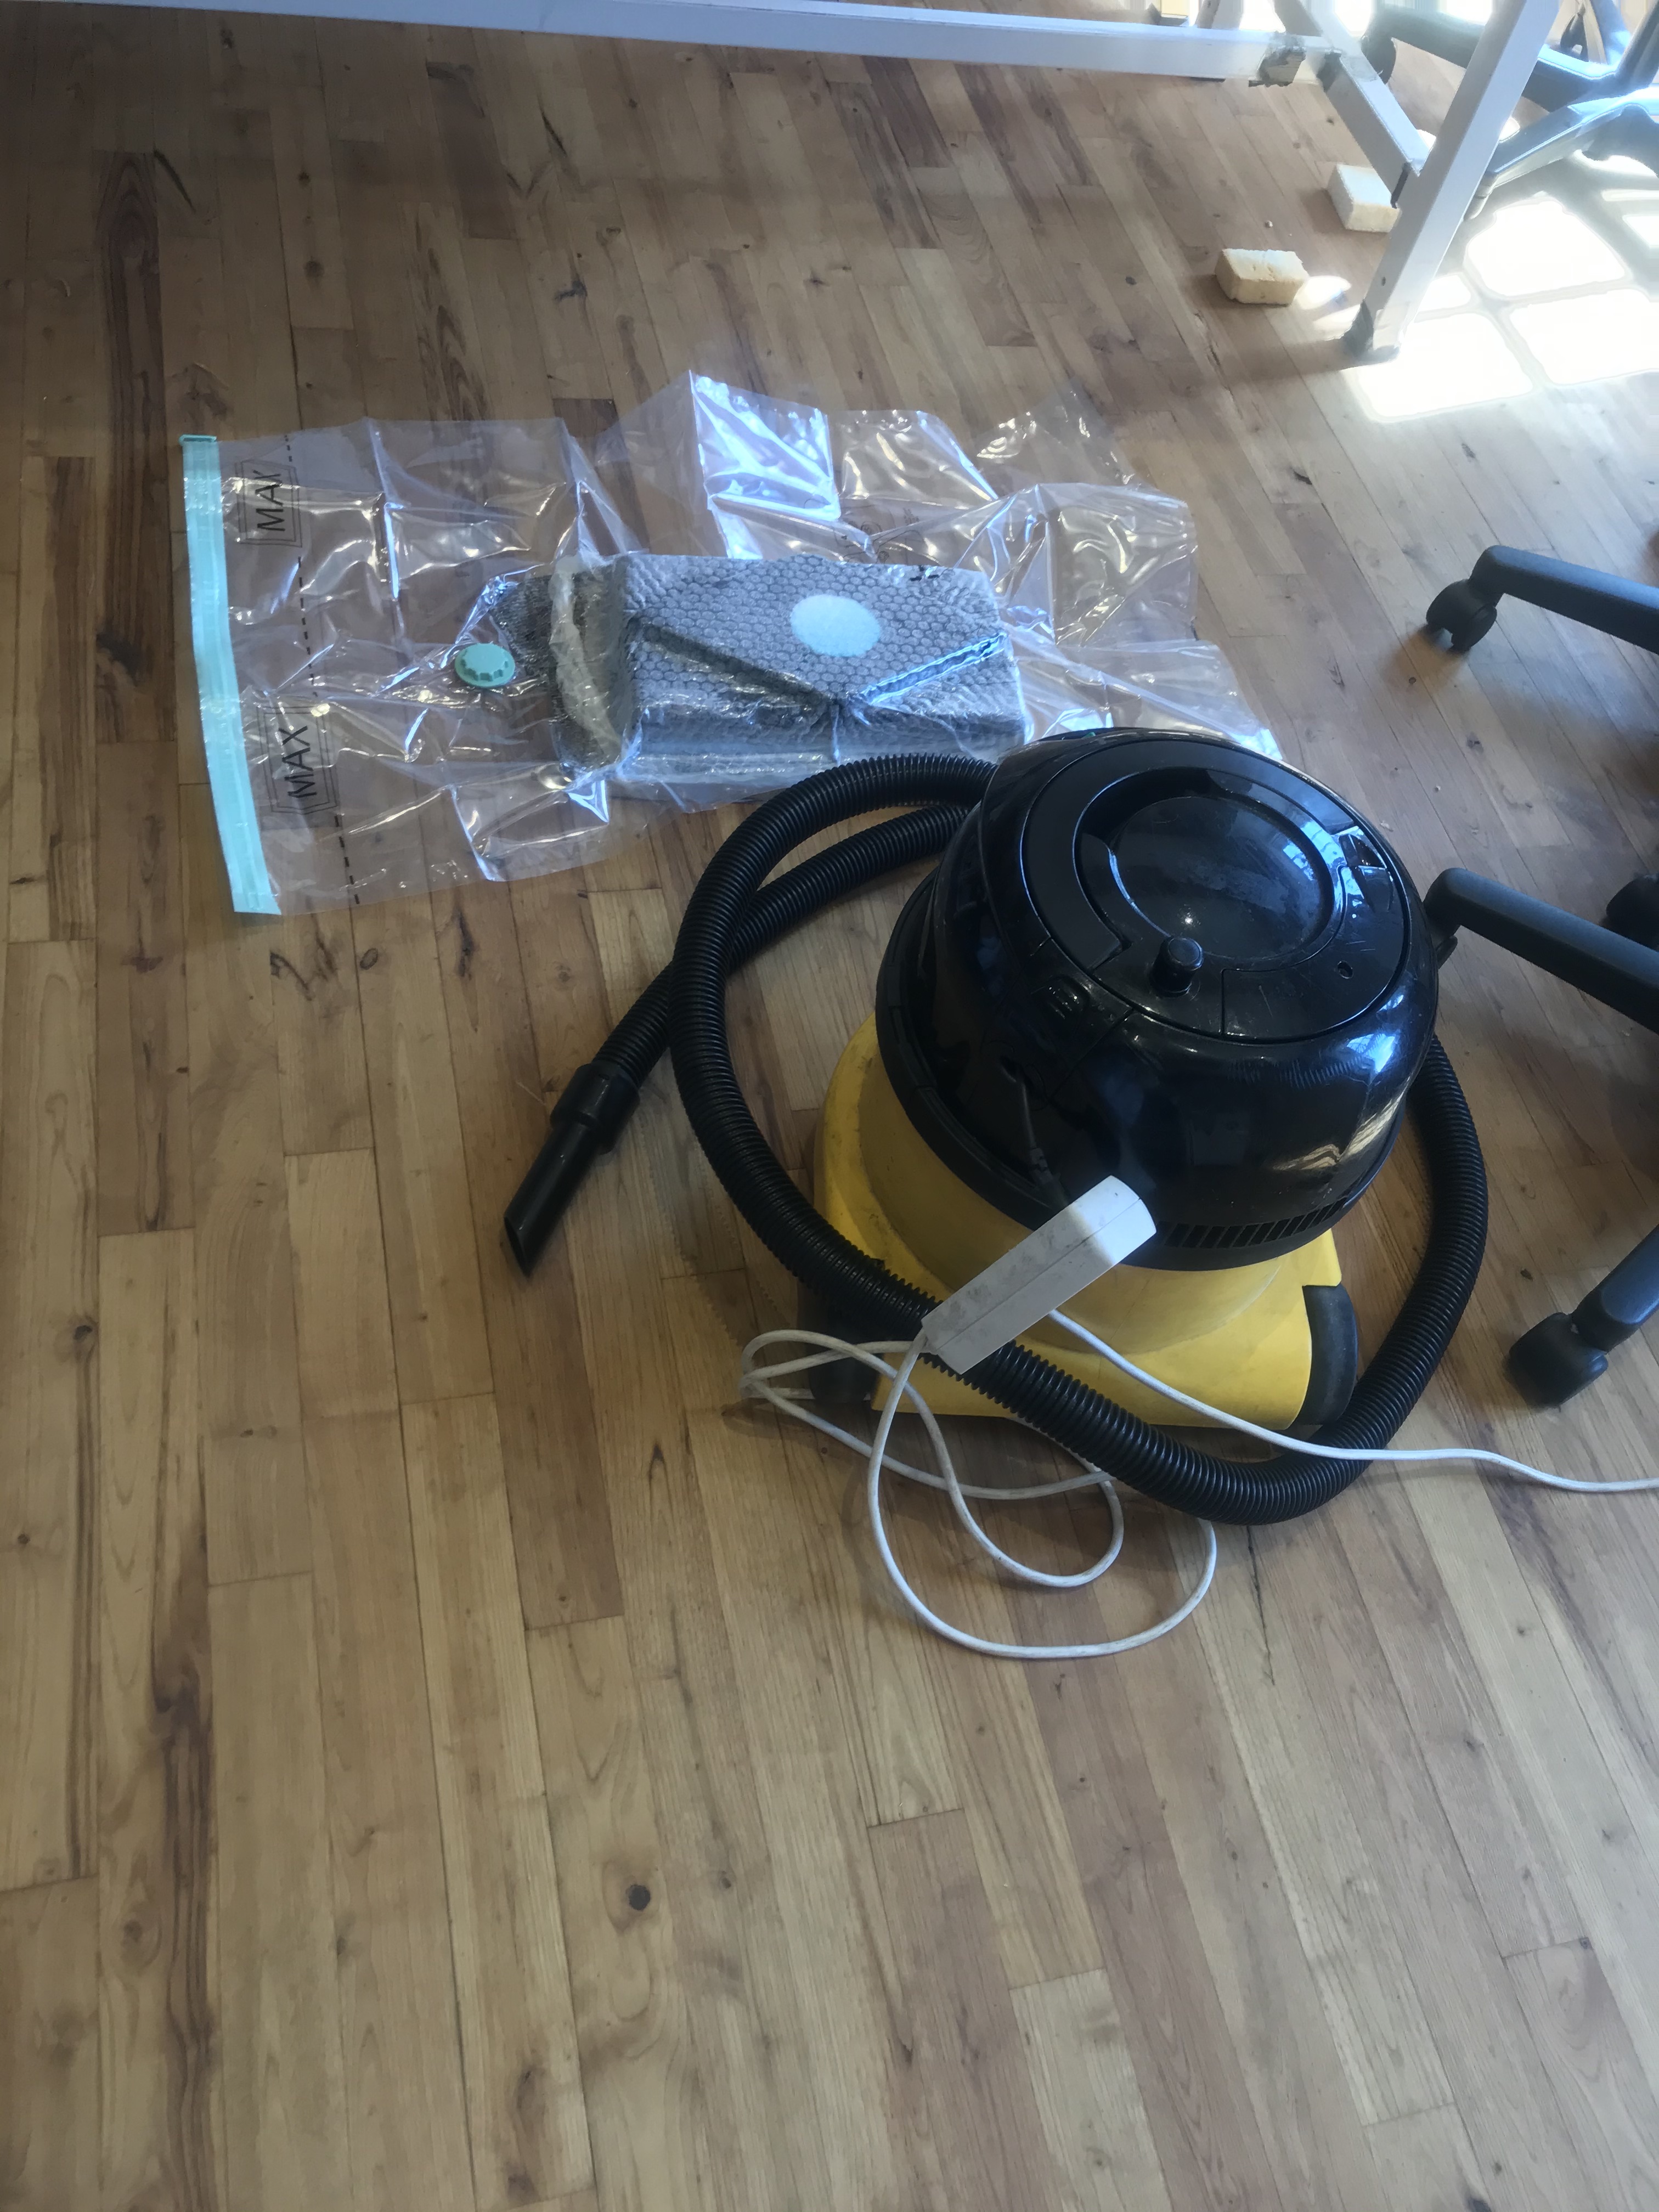 Vacuuming
- Lastly, we left it sealed for about an hour or so.
For the second trial, we used a foam piece, and using the foam cutter we adjusted the shape. Some problems we faced, the wire kept breaking off so we figured out how to fix it.
 Foam Cutter
The way to fix it is simply to use the rotating button on the corner to loosen it up and take out the cut out piece then use the upper rotating one to bring it down then tighten it again with the corner one.